how-to · ocr · pro
How to Extract Text From a Screenshot on Mac
TL;DR: To extract text from a screenshot on Mac, open it in Preview or Photos, drag to select the text, and press ⌘C — that's Apple's Live Text, built into macOS Monterey and later, running on-device. It works great once the image is already inside a Live Text-aware app. The friction shows up when the text you want is in a shot you just captured mid-workflow: you have to stop, open the file, hunt for the right app, and select carefully. A dedicated on-device OCR — like the Text OCR feature coming to DrawShot Pro — closes that gap: it reads the whole image or a region you drag, 100% on your Mac, and copies it in one click.
You screenshotted an error message, a serial number, a quote from a PDF, a Wi-Fi password taped to a router, a slide you can't copy from. Now you want the text, not a picture of the text. Retyping it is the obvious tax — but it's 2026, your Mac can read that image, and you should never type out what a camera already captured.
Here's how to pull text out of a screenshot on Mac: the native way (and exactly where it gets fussy), why "on-device" is the line that matters for privacy, and where a purpose-built OCR fits into a real capture workflow.
The native way: Apple Live Text
macOS has had on-device OCR since Monterey (12.0). It's called Live Text, it uses Apple's Vision framework, and it runs entirely on your machine. You're probably already carrying it. Three ways to reach it:
In Preview or Photos
Double-click the screenshot to open it, then just click and drag across the text like it's a web page. The cursor turns into a text I-beam over recognized words. Select what you want and press ⌘C.
In Quick Look (no app needed) Select the image file in Finder and tap Space. If there's text in it, a small Live Text icon appears in the bottom-right of the preview. Click it to highlight everything detected, then Copy All.
On macOS Sequoia — right-click "Copy All Text" Newer macOS adds a right-click Copy All Text in several contexts, which grabs every line in the image at once. Fastest native option when you want all of it, not a snippet.
For occasional, one-off extraction, this is genuinely good and you don't need anything else. Use it.
Where Live Text gets in your way
Live Text is an OCR engine exposed through a few Apple apps. It is not a global "read whatever's under my cursor" command. In practice that means:
- You have to land the image in a Live Text app first. Just captured a shot to your Desktop? You still have to open it in Preview or Quick Look before you can select anything. That's a context switch every single time.
- Region selection is finicky. Dragging an I-beam across a dense dashboard or a multi-column layout often grabs the wrong run of text, or stops at a line break you didn't want. There's no "draw a box around just this" mode.
- It's divorced from your capture flow. If you live in a screenshot tool — annotating, blurring, pasting into Slack and Linear all day — Live Text is a side trip out of that loop and back.
- No batch, no "copy this one number." Grabbing a single order ID out of a busy screen means careful click-dragging instead of a quick box.
None of these are dealbreakers for a once-a-week task. They become a real tax the moment OCR is something you do constantly — support replying to tickets, a dev lifting an error string out of a log screenshot, anyone copying figures out of a dashboard.
The "on-device" line is the one that matters
Search "image to text" and you'll hit a wall of free web converters — upload your picture, get text back. They work. But read what you're agreeing to: your screenshot is uploaded to someone's server to be processed.
For a meme, who cares. For a screenshot of a production error, a customer record, an internal admin panel, or anything with a key or token in frame, that's a quiet data leak you're doing to yourself. Once those pixels are on a third-party server, you've lost control of them.
This is the whole reason on-device OCR matters. Apple's Vision framework — the same engine behind Live Text — runs the recognition locally, so the image never leaves your Mac. Any tool worth using for work screenshots should be built on that, not on an upload. (I wrote about why I built the entire app this way in why DrawShot is local-only.)
So the honest rule: drag-select + ⌘C in Preview for the occasional grab, and an on-device OCR for everything else — never a web uploader for a screenshot that has anything sensitive in it.
Where DrawShot fits: OCR inside the capture loop
DrawShot already lives where your screenshots happen. It rides the native macOS capture shortcuts (⌘⇧4, ⌘⇧3, ⌘⇧5) instead of replacing them, watches your Desktop, and pops a Loom-style toast the instant a shot lands — click it and you're in the editor. From there it's single-key annotation: A arrow, B blur, R rectangle, ⌘S to save and copy in one keystroke. (Full keymap in the annotation tools guide.)
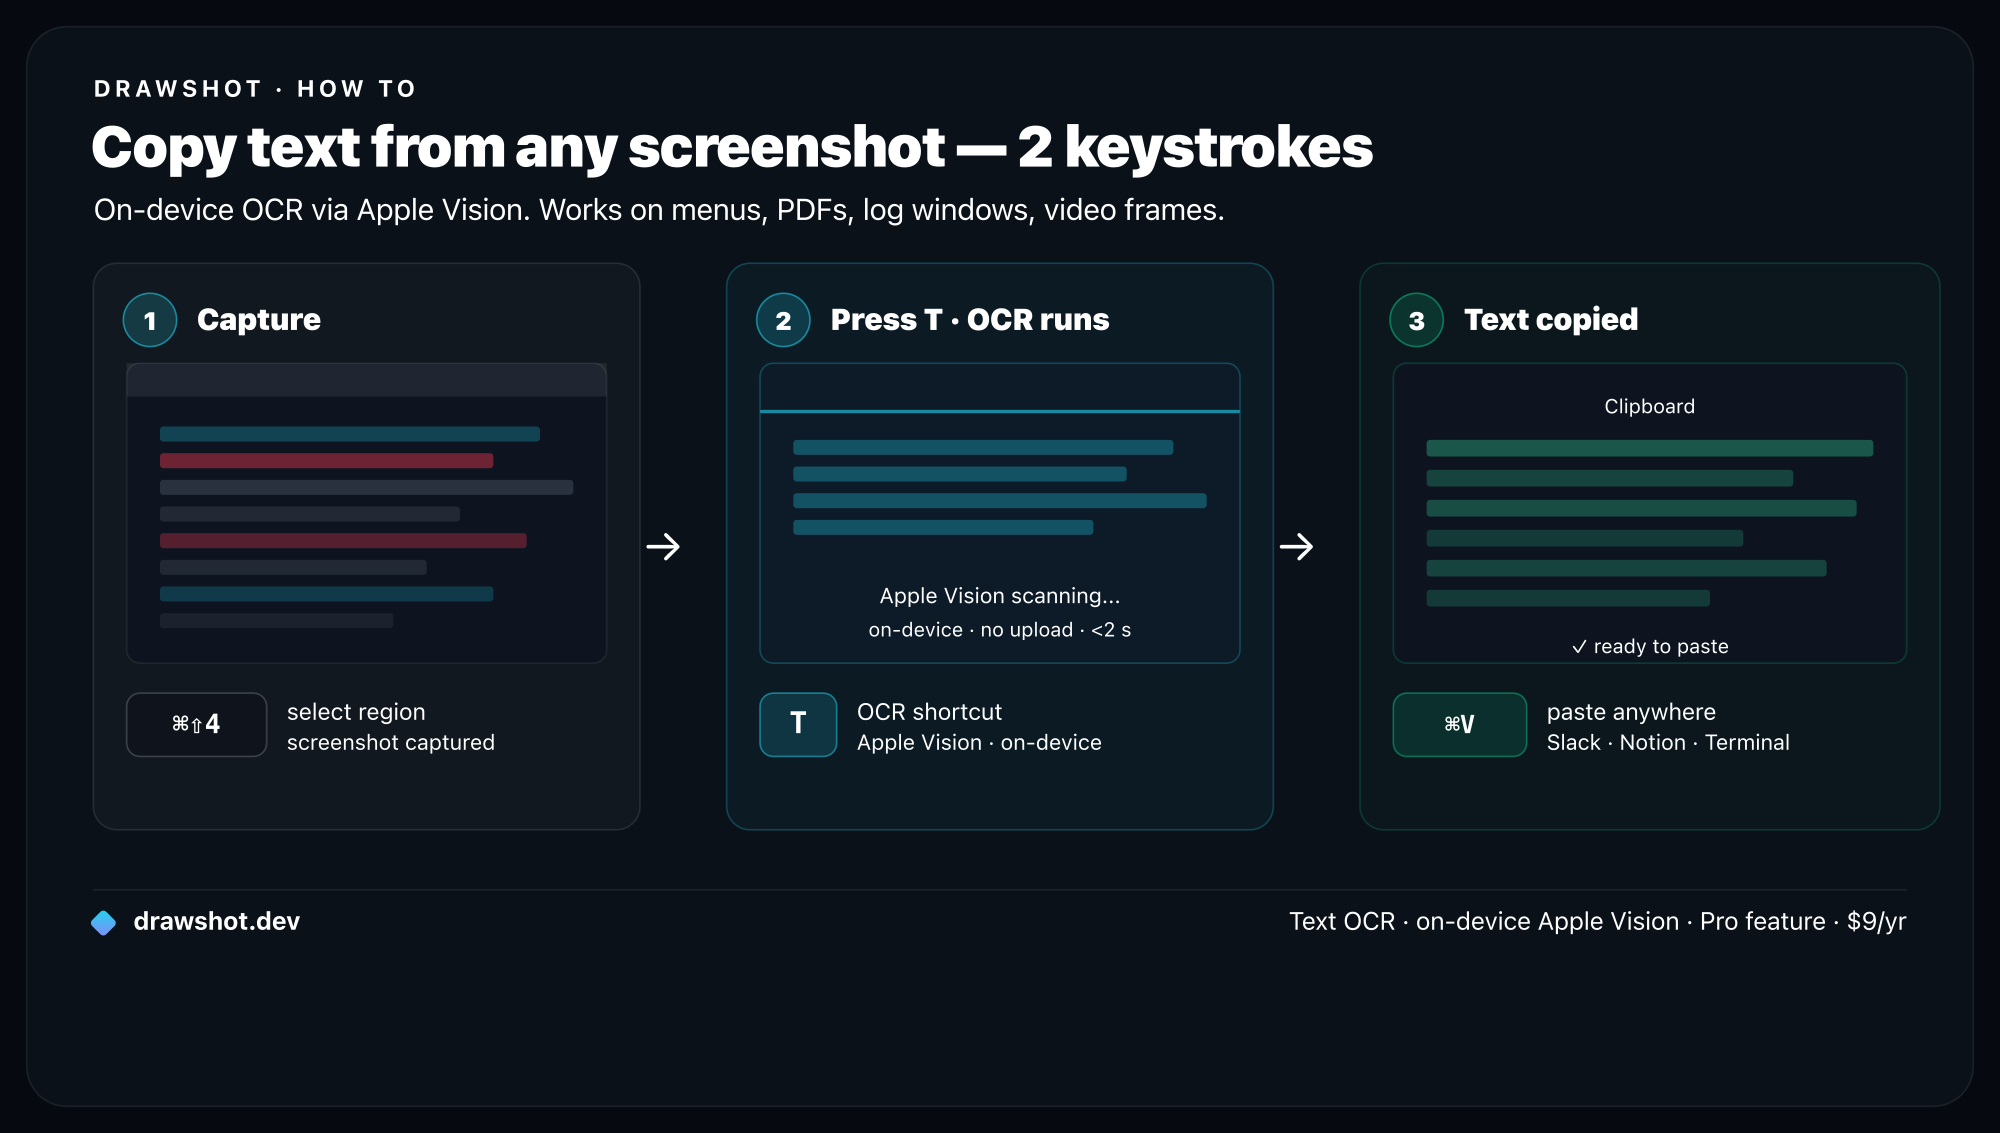
Text OCR is one of the Pro features landing in DrawShot soon, and it's built for exactly the gap Live Text leaves open — OCR in the same window where you already are, so there's no detour:
- Whole image or a dragged region. OCR the entire shot, or drag a box over just the part you want — that one order ID, that single line of an error — and get only that.
- 100% on-device (Apple Vision). The recognition runs locally on the same framework as Live Text. The pixels never leave your Mac, so it's safe to point at production screens, customer data, and internal tools.
- One-click copy. Recognized text goes straight to your clipboard, ready to
⌘Vinto Slack, a ticket, a doc, or a search box. No "open in Preview, select carefully, copy" three-step.
Because it's part of the capture→annotate→paste loop you already run, OCR stops being a side trip and becomes one more key in the flow — the same way blur and arrows already are.
A note on honesty, since it's coming-soon: Text OCR ships in the Pro tier ($9/year — about $0.75/month), which is on its way, not live today. The free core annotator is available now — capture, 11 annotation tools, blur, ⌘S save-and-copy — and it's the thing to install first so OCR drops right into a workflow you already have.
Real jobs this kills
A few places retyping text out of a screenshot quietly eats time, and where in-workflow OCR earns its keep:
- Support & ops — lift an order number, email, or error code out of a customer's screenshot to paste into your tools, without typing it character by character.
- Developers — grab an exception string or stack-trace line out of a log screenshot to drop into a search or an issue. (Pairs with the faster bug reports workflow.)
- Anyone copying from "uncopyable" sources — a slide deck in presentation mode, a PDF that won't select, a Wi-Fi password on a sticker, a screen-shared doc you can't open.
- Research & notes — pull a quote out of a screenshotted article or thread instead of transcribing it.
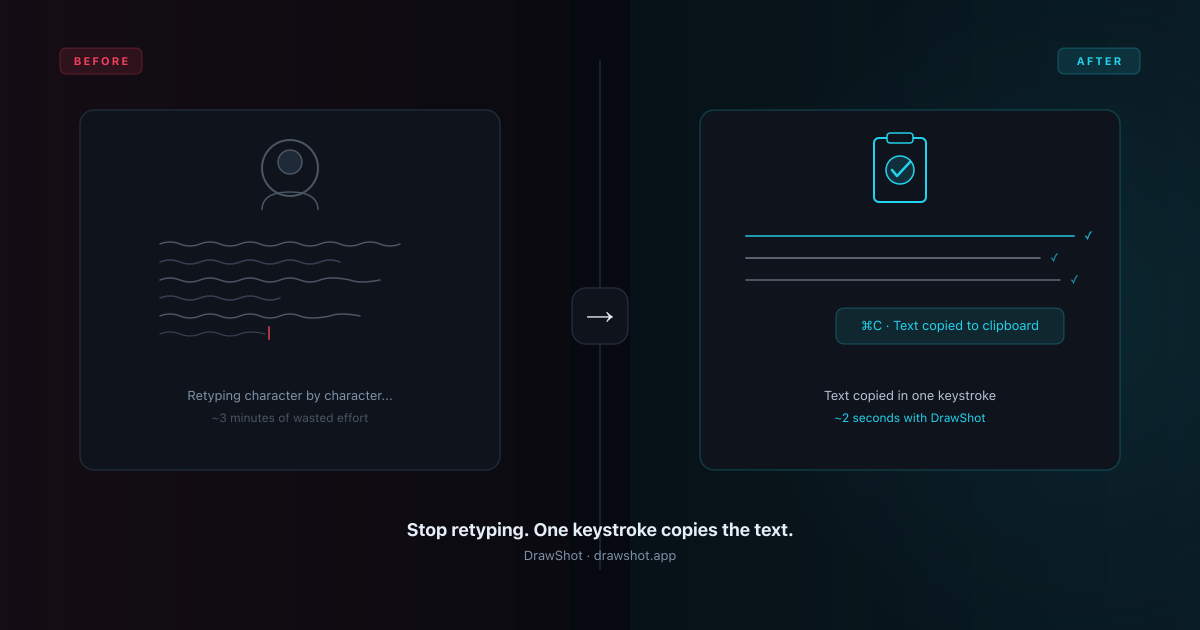
The pattern is always the same: a camera (or a capture) already has the characters. There's no reason your fingers should do the work twice.
Frequently asked questions
How do I extract text from a screenshot on Mac?
Open the screenshot in Preview or Photos, drag to select the text, and press ⌘C — that's Apple's Live Text, built into macOS Monterey and later. It works when the image is already sitting in a Live Text-aware app. For a screenshot you just captured into your annotation tool, a dedicated on-device OCR — like the Text OCR feature coming to DrawShot Pro — extracts the whole image or a dragged region and copies it in one click, without leaving the app.
Does macOS have built-in OCR for screenshots? Yes — it's called Live Text, and it runs on-device using Apple's Vision framework. It works in Preview, Photos, Safari, Quick Look, and (on Sequoia) a right-click "Copy All Text". The catch is it only triggers inside those apps, so you open the file first, then select text. There's no global "OCR the region under my cursor" hotkey in the OS itself.
Is screenshot OCR private, or does my image get uploaded? It depends on the tool. Apple's Live Text and any tool built on the Vision framework run 100% on-device — the pixels never leave your Mac. Many free web "image to text" converters, by contrast, upload your screenshot to their server to process it. For anything with passwords, customer data, or internal UI in frame, use an on-device OCR and skip the web uploaders.
What's the fastest way to copy text from an image on Mac?
If the text is already on screen in a Live Text app, drag-select and ⌘C. If it's a fresh capture in your screenshot workflow, the fastest path is a tool that OCRs the shot in place — drag a box over just the part you want, and it lands on your clipboard ready to paste. That's the loop DrawShot's coming Text OCR is built for: capture, drag, paste, no detour into Preview.
Stop retyping what your Mac can already read.
Text OCR is coming to DrawShot Pro — on-device, 100% private, one click from capture to clipboard. $9/year. Be first to know when it ships.
Get on the Pro list →Or download the free annotator now — capture, annotate, blur, ⌘S save-and-copy, all live today. OCR lands on top when Pro ships.
— Shraddha
DrawShot Pro includes on-device OCR — highlight, copy, done. No upload, no cloud, no account. $9/year.
Free core tools · no account required · Apple Silicon native
— Shraddha Mittal
Related reading